


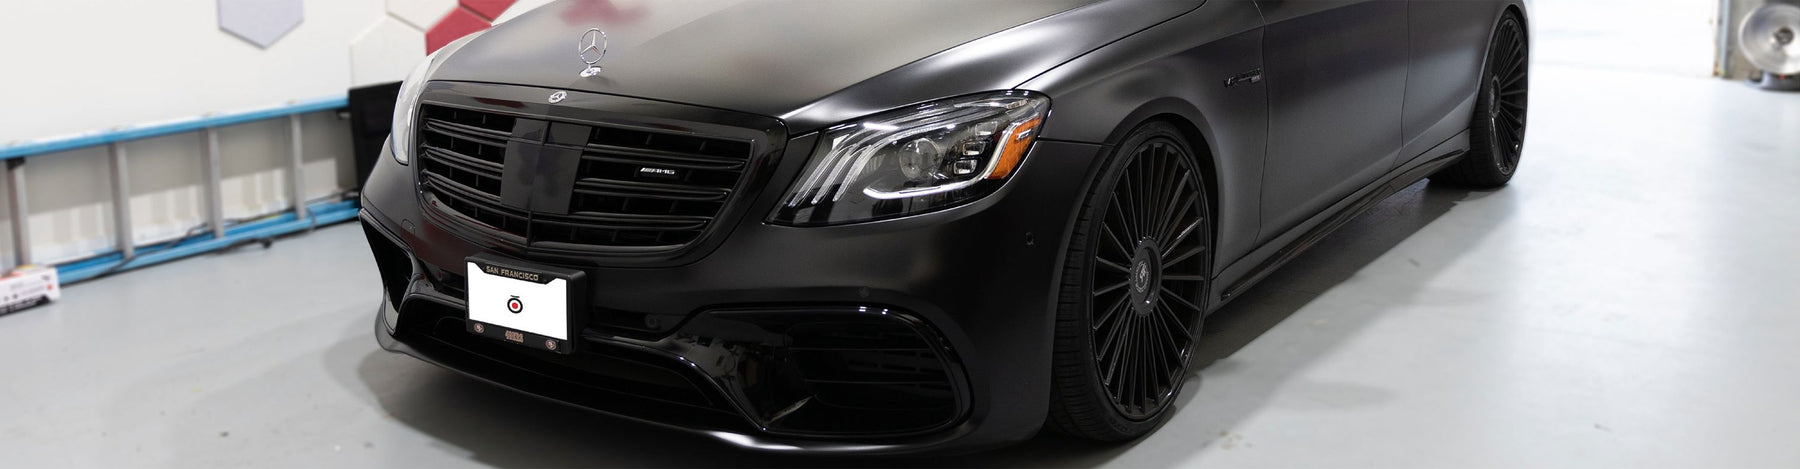
This photo blog will show how we installed a BlackVue DR770X-3CH Box in a 2019 Mercedes S63 AMG Sedan. This installation took place at our office in Richmond, BC. Mention this and receive 15% off your next installation with us! You can book an installation with us here.
BlackboxMyCar | Dash Cam Installation: 2019 Mercedes-Benz S63 AMG Sedan x BlackVue DR770X-3CH Box + CM100G LTE
This 2019 S63 AMG Sedan came fully kitted out, and to ensure everything went smoothly, we brought in our specialist who mainly works on advanced vehicles.
Originally, we were going to install the DR970X-2CH LTE, but once the owner of the S63 heard about the unique design of the DR770X Box, they were sold, and even waited a full month for us to receive our first shipment.
The BlackVue DR770X-3CH Box is easily our most secure dash cam to date, with its Box head unit, featuring a very sleek profile once installed, with its small cameras. Beyond that, it comes backed with all BlackVue’s advanced features they’ve become known for, specifically the BlackVue Cloud.
We’ll also be installing this model with a CM100G LTE. With this device, the DR770X Box can stay connected to the BlackVue Cloud at all times once a SIM card is inserted into the module. This will allow for real-time notifications if an event happens at your vehicle while you are away, and the ability to check in on your vehicle remotely If you are going with the DR770X Box and decide not to go with an LTE Module, then the advice on the LTE module can be interchangeably applied to the included GPS module.
Installing a dash cam yourself?
Ensure your dash cam is installed correctly with our Essential Dash Cam Installation Kit. This user-friendly package makes installation easy and hassle-free, allowing you to drive with confidence.
Don't settle for less—protect yourself on the road with our top-quality installation kit today!
Sold out
Step 1: Dash Cam Placement
When it comes to the Dash Cam placement, there are plenty of unique factors when it comes to this specific installation.
This 2019 S63 AMG Sedan is a European vehicle, and as can sometimes be the case with these, the fusebox was actually located in the trunk of the vehicle, off to the passenger side behind some panelling. Fuseboxes in the rear of vehicles are traditionally quite difficult to wire to for dash cams, as you’d need to run the cable from the rear, all the way up to the main unit on the front windshield. This is problematic because it is a fair bit of work, and standard hardwire kits are normally not long enough to reach that far, requiring an extension. But not for the DR770X Box!! With it’s unique design, the head unit is the Box itself, and we can easily rest it in the trunk as well, close to the fusebox. For this installation, we decided to remove the entire trunk cover through a few screws, and install the DR770X underneath the trunk itself. Let’s see an intruder break into the box now!
The Box unit is fixed with Velcro straps underneath the trunk, which are included in the box.
For positioning of the front, IR and rear units, we recommend connecting through the BlackVue app, where you can live-view the camera, which will feature horizontal and vertical mounting lines which you can use to find the ideal mounting position and viewing angle for your camera. For this installation, we placed the front and interior cameras on the front windshield, with the rear camera on the rear windshield.
Note: Ensure the front camera is properly identified from the other cameras of the DR770X Box. This model is unique from the others, and should stay at the front of the vehicle.
Step 2: Hardwiring in the fusebox
Since both the head unit (The Box) and the fusebox are located in the same place, wiring between them is rather self-explanatory. Still, let’s focus on getting it properly connected to the fusebox.
This vehicle uses ATO fuses, so we used appropriate ATO Add-a-fuse taps to wire. Since we are using the base 3-wire hardwire cable that comes included with the DR770X Box, we will be wiring to an ACC(Ignition) BAT+(Constant) and ground point in the fusebox. We’ll be using a Voltmeter to test these fuses, but feel free to use a Circuit tester which is included in our essential installation package. A circuit tester will light up when it is connected to a constant circuit when the vehicle is off, however, it will not light up if connected to an accessory circuit while the vehicle is off.
Consult your vehicle’s user manual or fuse diagram for information on what fuse to wire to, and which fuse taps to use for your vehicle.
Step 3: Running the camera cables.
Since there are 3 cameras, and an LTE module coming out of the DR770X Box, each of them will need to be run out of the trunk from the head unit.
We ran all 4 of these cables through the panel from the back seat, and then entered into the standard frame of the vehicle in the back seat of the vehicle. The LTE module and rear camera will be the easiest, going right on the rear windshield, with the rear unit in the center, and the LTE module up top on the passenger side. The LTE module has to sit on the windshield to receive a proper reception to provide the cloud service for the DR770X Box.
From here, the front and interior cameras can be treated as a standard installation, running along the passenger side pillars, and along the top of the vehicle. Given that running 2 cables was needed instead of just 1, it did increase the difficulty of this installation, especially with the tight frames of European vehicles. Using a Trim Tool or other device to get in there can prove helpful, and BlackVue’s thin coaxial cabling is a blessing.
Normally, you are able to continue this all the way to the front unit, tracing the frame of the vehicle, and running the cable behind the airbags. However, our installer being a professional, decided to path towards the center sunroof after passing the rear seats. This avoids the airbags and side paneling altogether, for an incredibly clean install, though it is not required.
Step 5: Test the Dash Cam
Before hitting the road, test the dash cam to make sure it's working properly. Turn on the car and check if the dash cam turns on automatically. If it doesn't, check the power connections and make sure the dash cam is properly mounted.
If you went with the LTE module, you’ll want to setup the cloud service and initialize it in the BlackVue app.
Oh, and we also put the bluetooth button up on the driver’s side, fixing it with the included adhesive tape.This will allow the vehicle owner to trigger manual recording easily at any point, despite not having access to the head unit, buried in the trunk.
Step 6: Clean it up
Now that our cameras are installed and the wires are well-kept, let's return to the fuse box to clean up the wires. You can use electrical tapes or cable clips to keep the cables bundled up, close them and put the cover back as needed.
Hardwire dash cam installation guide
Planning on installing a dash cam in a different car? Check out our Step-by-Step Dash Cam Installation Guide and our selection of handy installation accessories. And if you ever need a hand during the installation process, just call us; our dash cam specialists are available to help!
Looking to have your dash cam professionally installed, we do offer installation services at our Richmond BC location. Mention this and receive 15% off! Book here.
Please see some of our other dash cam installations in the BlackboxMyCar Dash Cam Installation Gallery.